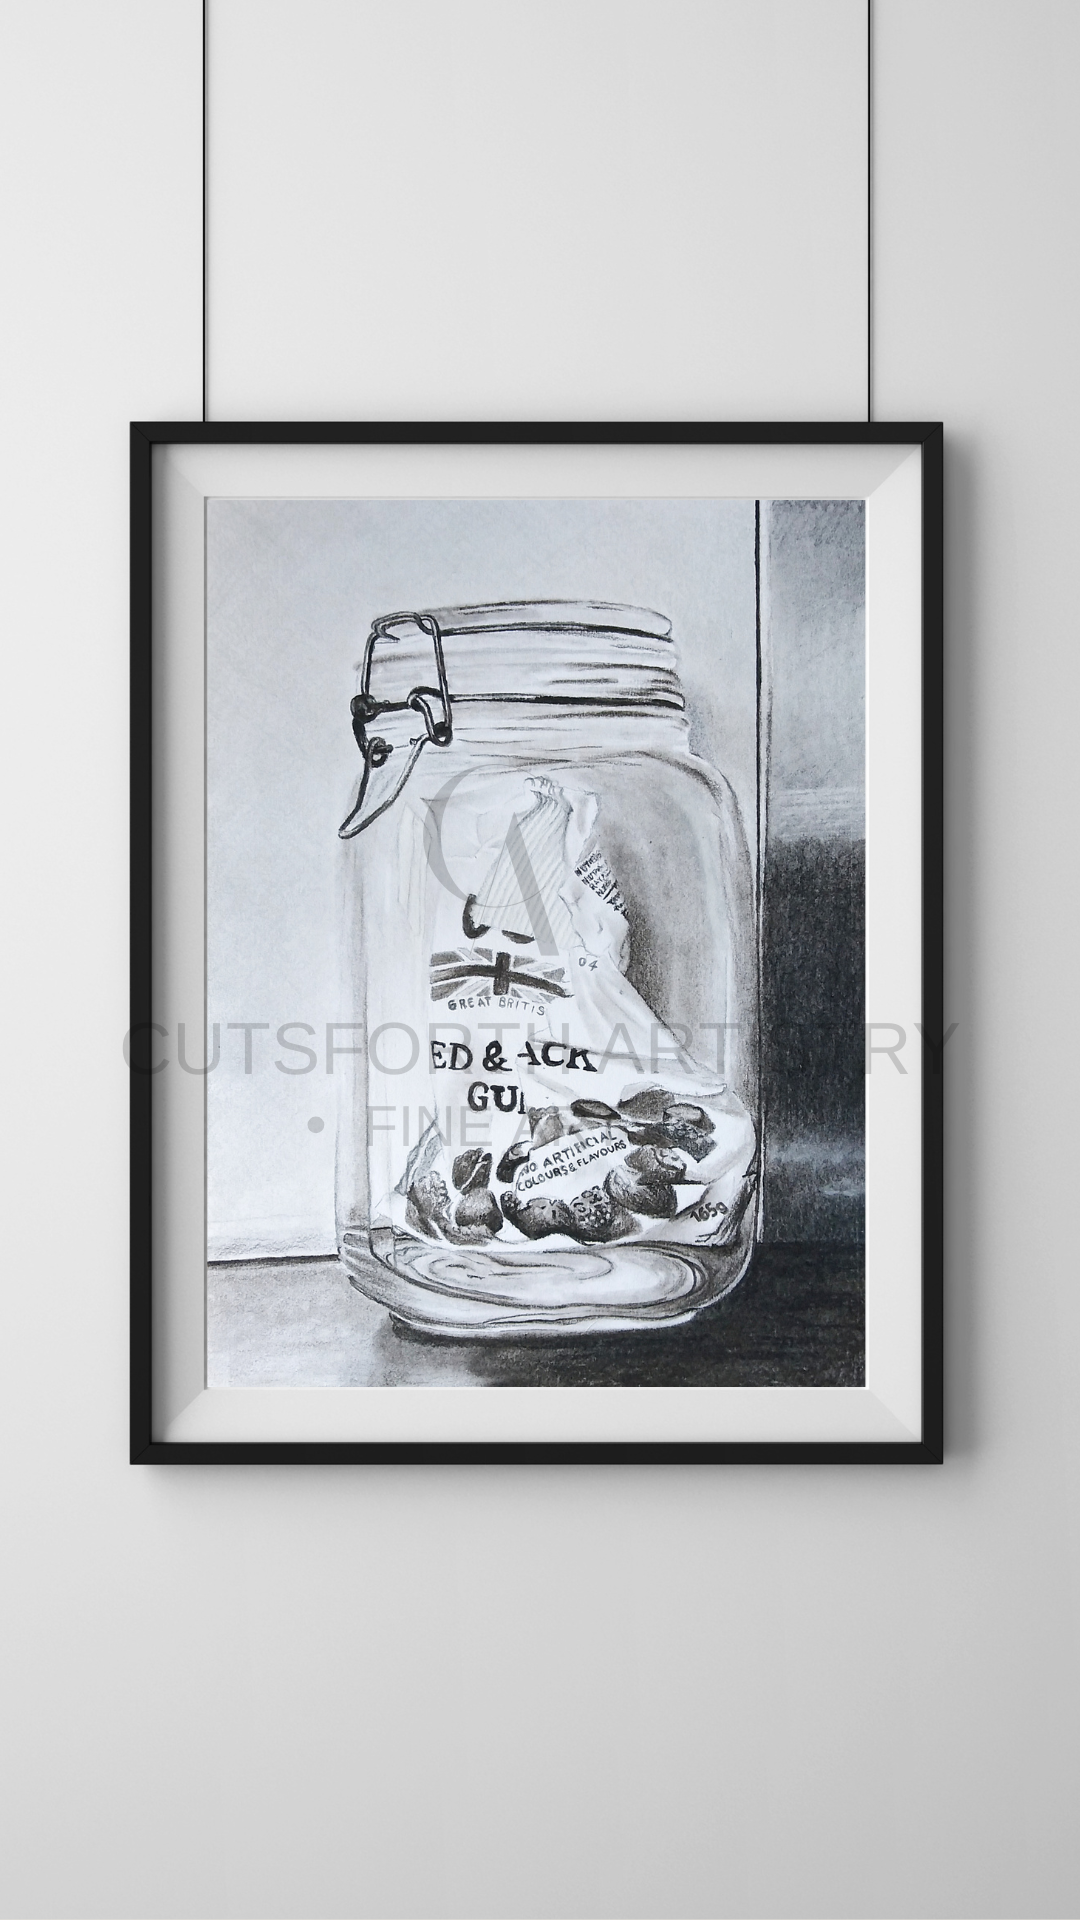
Setting up a still life.

To add depth and visual interest to my latest still life, “Save Your Sweet,” I incorporated a variety of textures, sizes, and materials

Metal, glass, and plastic were used to create a unique visual experience as each material reflects light differently. The plastic and glass materials also added extra depth and texture to the image.
Enhancing Still Life’s with the Right Lighting
To create a captivating still life, I enjoy playing with light and shadow. Before capturing the still life, I use external light sources such as lamps or natural light to highlight the object, creating a contrast between bright and dark areas. This technique adds depth and a three-dimensional quality to the image, making it more visually engaging.
Take a picture.

Photography is a useful tool for me. By taking photos of the still life set up, I am able to zoom in on specific areas and focus on the details I want to capture in my artwork. Additionally, having a reference photo can allows me to not have to worry about things been moved.

Let’s Begin.
When beginning a new piece, I prefer to start with a simple sketch to provide a rough guideline of where everything will be. For this step, I use willow charcoal – it’s light and easily erasable. Plus, it’s perfect for filling in larger areas quickly.
After establishing a strong foundation. Then, I carefully work from left to right across the page filling it all in, taking great care to avoid any blemishes or smudges on the paper.
Filling in the details
As someone who hasn’t received professional instruction in the arts, I rely on my intuition when creating. My process involves working in sections, starting from the bottom left and moving up to the top left. Then, I work my way across the top to the right side before filling in the center and finishing the remaining right side. After completing a section, I take a break and come back to it later with fresh eyes to the process and touch up on finer details.
The Dizzying Process of Perfecting.
I often find myself looking back and forth between the picture and my drawing, spending more time looking at the picture than on my actual artwork to ensure that it looks just right.
Once I’m happy with the final product, I sign and spray the piece with a UV topcoat.
To reproduce and preserve my artwork, I send it off to a fine art printer. They take a scan of my work and go into tiny detail color matching to ensure that any copies made are exactly the same, if not better than the original.
Thanks for reading, share this with a friend hopefully they will subscribe as well.

Shop↗
Visit the shop and discover a variety of exquisite artwork to add to your collection.
Subscribe ↗
Subscribe to the newsletter for early access to new artwork and to stay informed about our upcoming events.

